Wednesday, December 3, 2014

Bath Bombs

Bath Bombs

NEVER in my life did I ever think that
I would like to make 'Bath Bombs'!

But the more 'YouTube' video's I watched on bath bomb making
the more interested I  became. 

This time last year is when I bought all the ingredients for making bath
bomb cupcakes (my first interest). 
I mixed all the dry ingredients together, covered
it, and put it on a shelf! And that is where
it stayed until recently.

This past October I set out to finish those bath bomb cupcakes!
But I decided not to make the cupcakes, 
and just go ahead and make the bath bombs.

I sifted all the dry ingredients again, just in case I did not mix
it well enough when I measured it all out last year.
Then added all the extra goodies.


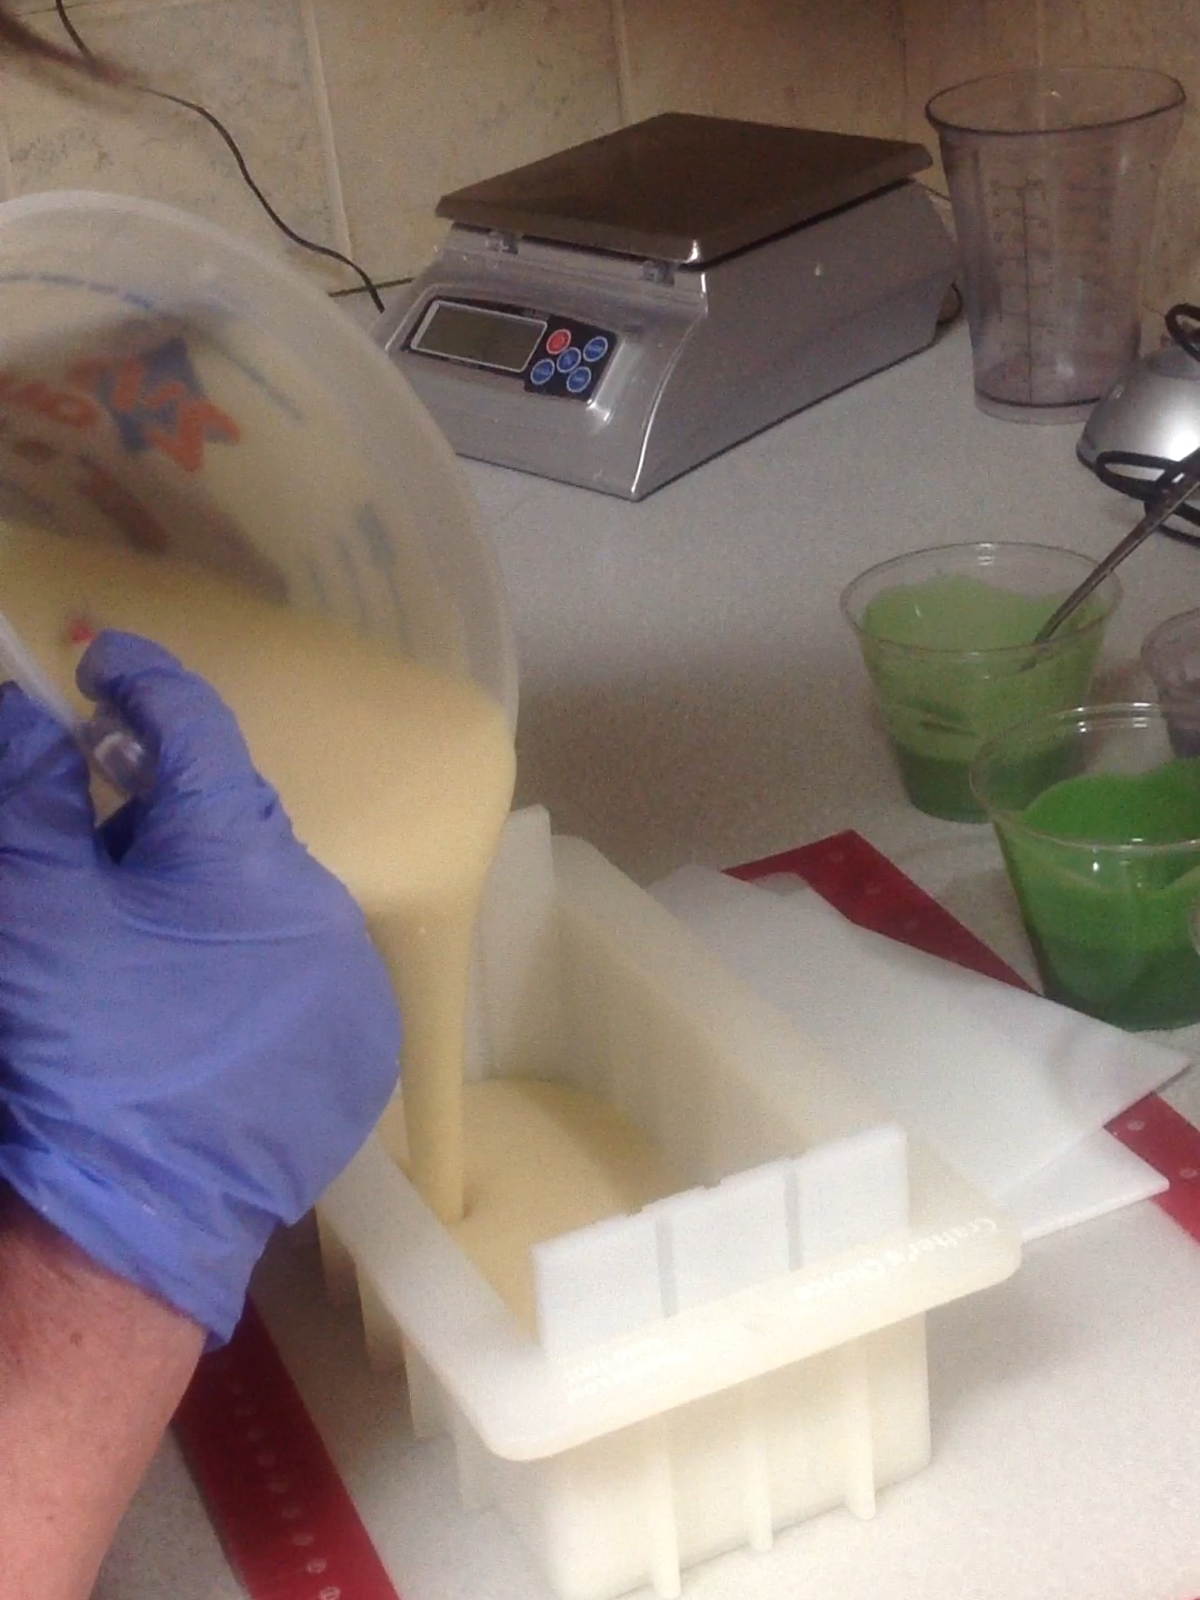
All the video's I watched really stressed to blend
the mixture really well. I spent time mixing and rubbing
the ingredients between my hands over and over again
till I was satisfied.
I spritzed it with some Witch Hazel and blended
some more. Finally squeezing it in my hand
and dropping it without it falling apart. Yea!
 Armed with a couple of tips from a great bath bomb
queen, on filling and releasing your bombs from the mold, I filled my 
molds.  Waa laa! A perfect bath bomb!! 
Oh Ya! 
Well........I thought it was anyway, until the next day!

Somehow they didn't quite feel like they would stay together.
Being afraid to squish it too hard I thought they just
needed a few more days to 'set up'.   

A fellow soaper friend came over a day later, and  I told her I wasn't
quite sure about them. I gave her one to take home and try. She said: Well, seeing
it is mine now, would you mind if I squished it to see what will
happen? Nope, I says.....it is yours.

With
just a little pressure to it's sphere with her finger tips
my beautiful bath bomb became beautiful bath dust ! Arg! 

 She has been making bath bombs for a few years. So she knows
how to make them. She Suggested I use 
a basic bath bomb formula (which she gave me) 
and  make it without all the additives
 to see what bath bomb was suppose to feel like. 

Well, I did. Now I understood! But I also did not understand
what went wrong with the first recipe.
Because now that I the basic formula is clear, I knew 
 the recipe I had in the first place was a good one. So what went wrong?

After making bath bombs for a couple of months, I FINALLY figured it out.
 I went ahead and used that first recipe a few times since
and had great looking bath bombs that STAYED together!

So what was the problem? Maybe some of you have already 
figured it out. 
It was the Citric Acid. It was perfectly good 
citric acid, that was not the problem.
You just can not.....I'll say it again (for my sake)
you can not leave citric acid out of it's air tight container for any length of time, never mind almost a year!! It
will absorb the moisture in the air, and therefore be good for
nothing in a bath bomb. It will get hard, crusty lumps.
Yes, I covered the mixture, but it was not in an air tight container.
When I re sifted the old mixture I thought the hard crusty 
lumps was just the way of it.

 I was able to save that failed recipe by adding a half cup of citric
acid to it and mold them again. They came out perfect!
They were one of my best sellers!

Here is the first one I made BEFORE the squeeze!
Lavender/Rosemary Mint.
Looks pretty good huh! 
Sad. I was pretty sad. Lol
Here are the ones I made with just a basic recipe
my fellow soaper gave me.
'Energy'
They got a few 'warts' in them, but I was able
to squish most of them back into submission! 
I don't spritz as much Witch Hazel and 
that problem has been taken care of!
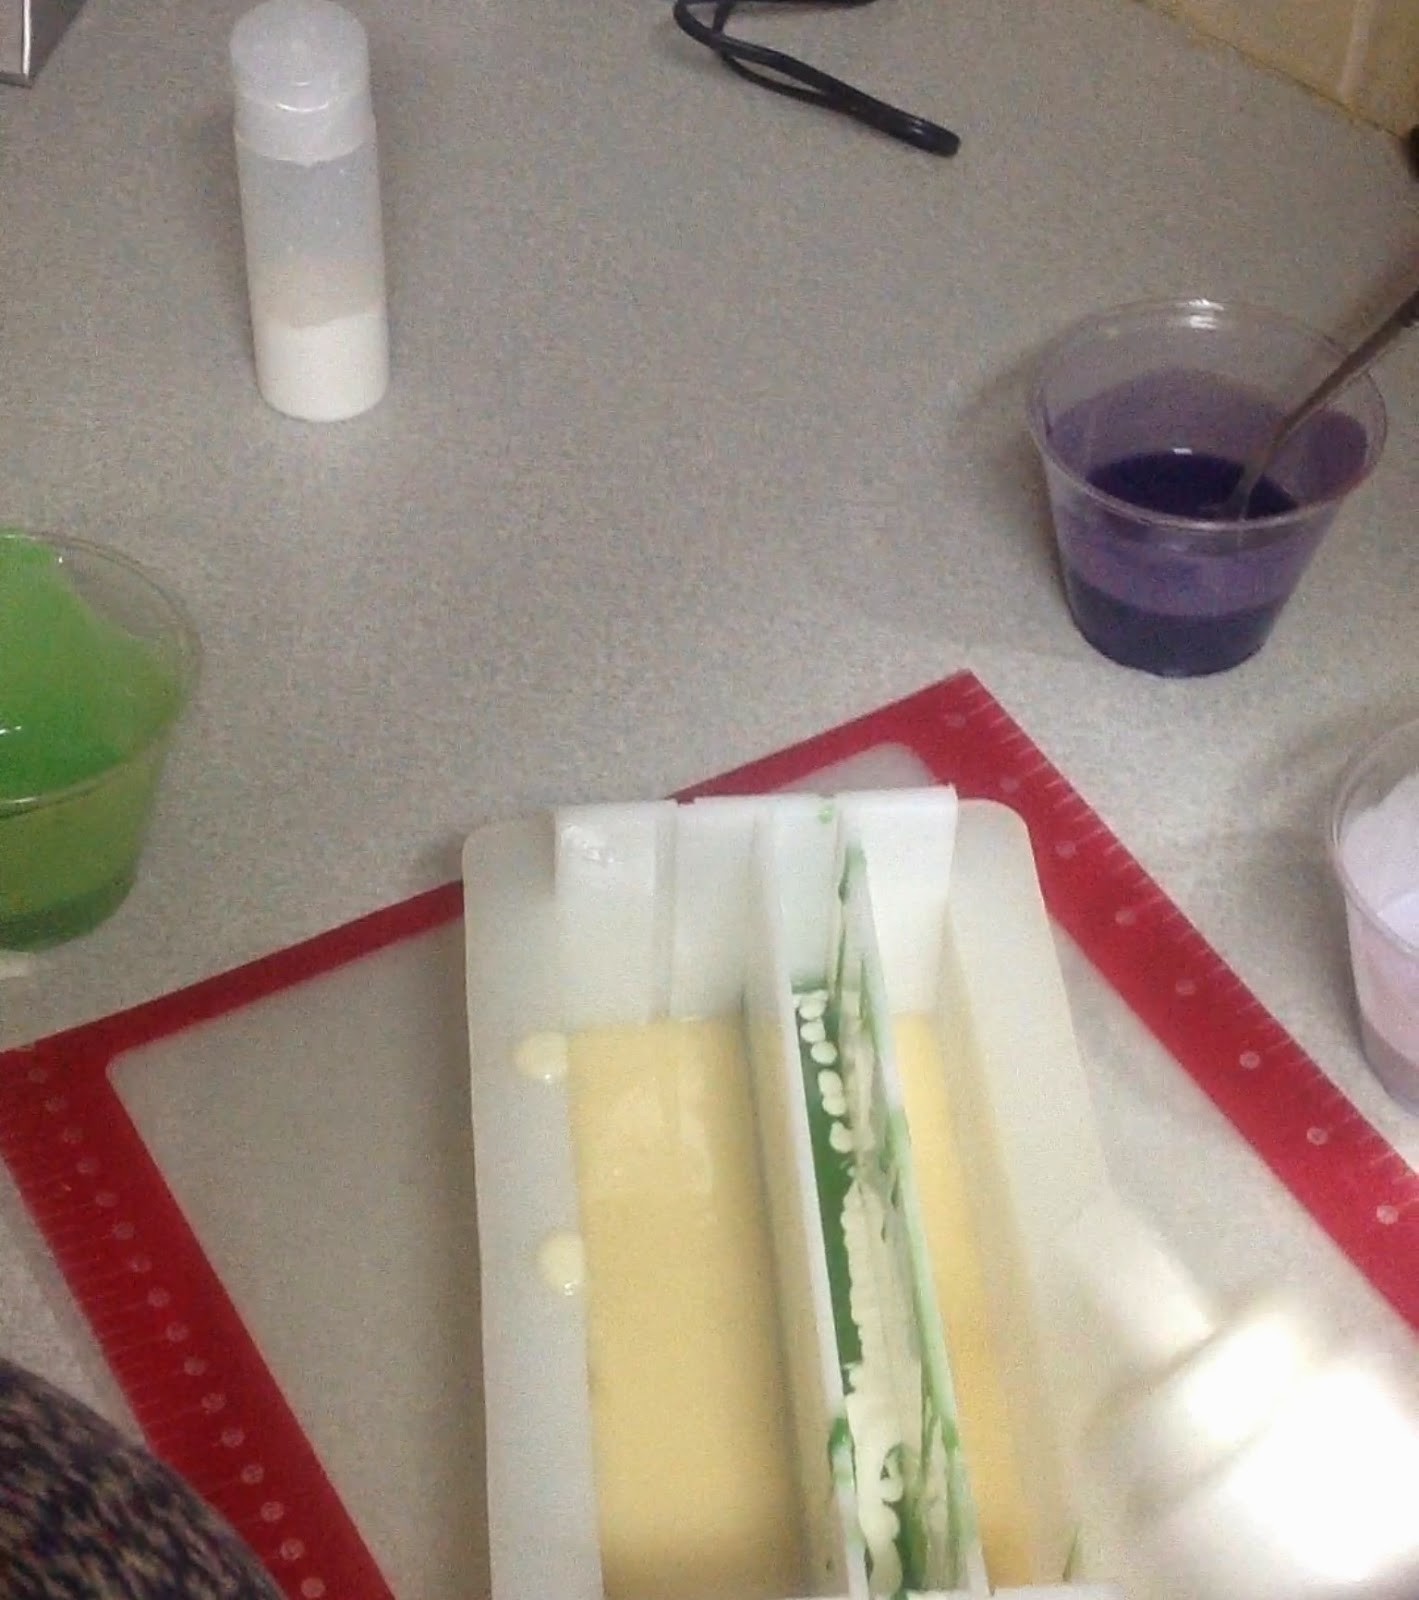
Here are some others I have made.
Cucumber Melon
Oatmeal & Honey,
Calendula,
and 
Sugar Cookie!

OK. I love to make bath bombs. 
I went on to make 8 different kinds!
And no......I'm not done yet!

Life is good,
Valerie

Thanks for stopping by!


Wednesday, September 3, 2014

Making a DIY soap mold with Mold Builder.


Making a DIY soap mold with Mold Builder.


I bet you have a favorite mold that you like to use to make your soap in. But because you always have to line your mold with freezer paper, which means measuring and cutting the 
paper to fit, you opted to buy a silicone mold or two.

I have done the same thing. But what to do with the ones you have to line?  Do they sit on the shelf and collect dust? 
Did you, or have you, contemplated giving them away, or selling them?
And what if you really like them? 
I have two such molds, and because I had to line them every time I wanted to use one of them I bought a few silicone molds to save me some work. 

Thanks to Cathy McGinnis at Soaping 101 who did a video on making your own liner with 'Mold Builder' I now have an 'all ready to use' liner for one of my favorite molds!  

Mold Builder cost me less to buy than three Crafters Choice's 2lb, white
silicone molds. That is about how many molds I can make out of 
the container of this Mold Builder! AND the liner
I made can hold three or more pounds of soap! 

 It did take me a day to make it (I just made one so far): layering one layer at a time (about 12 layers total), and waiting the 15 - 20 minutes for each layer to dry before putting on the next layer, but it was worth it. 
I love using this particular mold, and I'm so
excited to use it again without making
a paper liner!

Don't get me wrong. I do love my silicone molds a lot! But sometimes I just wanted a bigger batch, and a different size bar that my favorite mold could give me.

Follow the link to watch Cathy McGinnis's Video on 'how to' 
to fill in my gaps on how to.

First I made the box form out of foam board that fit inside my
wooden mold. It has to have NO wiggle room!
I completely covered it in clear packaging tape. Much thanks
for that tip from Katie White at Royalty Soaps! She says:
Cover the entire box with tape! Follow her
link and you till see what happened to her mold by
not doing that one step!
  
 Place form for the mold on a  sheet of cardboard or another
length of foam board. 
Then the first thin layer goes on! 
   A few more layers later..... 
You brush on a very thin layer of Mold Builder every
15-20 minutes! That's about how long it takes to dry. 
If you have a book you've
been wanting to read and can never
find time to hunker down and devour it....now's the time to get it out! 
Unless
other household chores are calling you that
you can do in-between layers. I played...um....Candy Crush! LoL
 
The next two pictures I took after 12 or more
layers of Mold Builder, and 24 hours later.


You need corn starch or baby powder when 
you release the mold from the form, because the mold is kind of
sticky, but not to anything but to itself. Kind of
like Saran Wrap. Dust the outside, and then
the inside as you release it.
    
I really liked this part. The mold came off 
really easy! I was so excited to find it worked!!!
  
The mold will be pretty flimsy.
  
I was even more excited to find how great it fit!
You definitely have to secure the sides up.
I just used clear tape to hold it in place.
 
OK! Now it's time to soap!
If you too have a mold hanging around that 
you love to use, but like the easiness of
silicone....try making a liner out of
Mold Builder yourself!
Trust me.....it was VERY easy!


And again,
a big thanks to Cathy McGinnis
and
Katie White
for their tutorials and tips!

Thanks for stopping by!


Life it good!
Valerie


Monday, September 1, 2014

Cream Soap

Cream Soap
What is cream soap?

Cream soap is part liquid, part solid 'Soap'.
Cream soaps are great for: 
shaving, plus as a hand and body wash.

Cream soap is a blend of sodium and potassium hydroxides plus oils. 
Sodium hydroxide is used to firm and give body to the soap, and Potassium hydroxide is use to make a smooth, shave-like consistency to the soap.

What is needed to make cream soap:
*Stearic acid
*Coconut Oil
*A soft oil such as: Olive, safflower, castor etc.
*Glycerin for emollience
*Boric Acid as a superfat.
*Phenolphthalein for testing of neutrality of the soap.

I am new to making cream soap, so instead of trying my hand at formulating my own recipe, like I always do, I followed a recipe in Catherine Failor's book:  
'Making Cream Soap'.

I recommend this small paper back book to anyone who may just want to try their hand at making cream soap. It has a wealth of information with five recipes to boot!

I have never made liquid soap (someday I may try) but what I read the making of cream soap is similar to making a liquid soap.

The recipe I choose in Catherine's book has:
Stearic Acid, Castor Oil, Coconut Oil, and (Calendula infused) Olive Oil.
I also used Boric Acid to superfat instead of more Stearic Acid.
For the liquid I used some Calendula steeped water, and Aloe Vera gel. Calendula and Aloe Vera are very good for your skin. I wanted both in my cream soap.
*Calendula infused water and Olive Oil, plus Aloe was not part of her recipe.


I have to admit that making cream soap was, at times, hard work. It is very difficult to stir at points in the cook. I have Muscular Dystrophy and my arms and hands were challenged beyond their normal limits. With the videos I've watched on YouTube though,
I see it is also challenging for the healthy arms. Sooooo with that said it is definitely a challenge to make cream soap! But worth it!
Here I have pictures of the finished product. Sorry I did not takes pictures as I went along. To have a better idea of what it is like to make cream soap 'Mountain Scentaments' has a great video that helped me tremendously.

The finished cream soap
 After a few days 
  
  
Cream soap needs a cure time for a least week, but
some let it cure (or rot) for 2 or more months.
It will develope a 'sheen' to it. Here you
can see that sheen even after a few days.
Here is a small container with a fragrance in it. The color
definitely changed.
  

I the color would have been very white, but because
I added Calendula infused water and oil, plus
Aloe Vera gel, and fragrance oil the color turned a bit creamy. 

Thanks for stopping by!


Life is good!
Valerie

Saturday, August 30, 2014

Melt & Pour in-beds

Melt & Pour inbeds

Recently I made melt & pour base,thanks to Bonnie at Good Earth Spa for a great tutorial.
You can find her how to video here.
Watch her video for full instructions in making
the following recipe that she supplies.

Vegetarian Formulation:
5oz Distilled Water (for Lye)
2.6oz Sodium Hydroxide (Lye)
5oz Castor Oil
6oz Coconut Oil
6oz Palm Oil
9oz Propylene Glycol
3oz Glycerin
3oz Sugar dissolved into 3oz Distilled Water

You mix the first five ingredients as if you were doing
A hot process soap recipe.
Bring to thick trace and cover until it completely gels.

At this point you add the Propylene Glycol and Glycerin one 
at a time and mix well before each addition.
Stir in the sugar water thoroughly.

Crock-pot should be on low.
 This is the gel stage before I added the
Propylene Glycol, Glycerin, and Sugar water.

Displaying photo.JPG
This is after I added the
Propylene Glycol, Glycerin, and Sugar water.
You cook until everything is fully melted and clear.
You can see here that there is still some pieces of
Propylene Glycol that is not totally melted.
You must wait until all is melted in order to pour
into your mold.
Displaying photo.JPG
After I poured the soap into my mold, and let it
cool down and harden.
 I then cut up a portion into cubes
to remelt and color.
 The first in-beds I made where pink hearts.
 Displaying photo.JPG
The second in-beds I colored green for some edging on my soap.
Displaying photo.JPG
I used a favorite Bastile Soap recipe, and used a Rose FO.
I did not add color to the main soap.
I measured out three small portions of soap batter. 
I colored one a light green, the other a darker green.
The third portion I colored pink.
On the top sides of the soap I put the strips of green
lace looking in-beds.
I was inspired by 'Dandelions SeiFee'
      Displaying photo.JPG  
I added the heart in-beds down the side and bottom
of the mold. 
I did a tiger swirl with the greens and pink and
lightly hanger swirled it.
I also added the colored soap left over
to the top and did a swirl.

Displaying photo.JPG

 
Thanks for looking!

Life is good!
Valerie

Saturday, July 26, 2014

Beer Soap

Making Beer Soap 

I've been wanting to make beer soap for awhile now.
I was a bit hesitant because I didn't want to 
go to all the work of boiling the beer, then freezing
it before I could use it. 
Well, thanks to Cathy on 'Soaping 101' I found
out I can skip one step with another for less hassle
and then freeze the beer.
So...what is that step?
Eliminating the boiling! Just pour it in a container, and let 
the beer go flat on it's own! 
If you boil the beer you not only will flatten it,
but you'll also take out a lot of the good stuff for your skin out of it! 
And you will never be able to boil all the alcohol out of it anyway.

I call this bar: Vanilla Sudz

the beer I used
Before I go any further I have a disclaimer here:
I am a born again Christian and I do not
drink Alcohol of any kind. But as you can see
I do use it in my soaps! >smiles<

For the oils I used:
Olive Oil
Coconut Oil
Shea Butter
Grapeseed Oil
and Sunflower Oil

along with the beer I used Coconut oil,
and Almond oil.
I froze all the liquid before I added the
Sodium Hydroxide.

I also added some Kaolin Clay for 'slip'.

The fragrance oil I used was a combo of
French Vanilla & Sandalwood.

Titanium Dioxide was added to color some of the soap
for contrast. 

Here is my video.


Thanks for stopping by!

Life is good!
Valerie


Friday, July 25, 2014

Eosinophilic (ee-oh-sin-oh-fill-ick) Disorder or Food allergies

Do you have a child with 'Eosinophilic Disorder or food allergies'?

Are you having problems with ideas on what to
feed your little pumpkin with this disorder or food allergies?

Do you feel alone without a support group
with how to deal with the struggles of feeding your child?

Do you feel that this disorder is a death
sentence? That there is no 
light at the end of the tunnel?

Well, there are other people out there with
children with this disorder that also
struggle. BUT they know it is NOT 
a death sentence for these children,
and there IS A LIGHT at the end of the tunnel!

One such mother has started a blog:

Her child has recently been diagnosed with
'Eosinophilic Disorder and food allergies'. 

Not to be discouraged she has risen up to the 
challenge to make changes in her and her 
families diet so her son will be able to thrive.

She has put together some recipes that
work for her and little Zachy. Her hopes are that
she can help someone else by sharing 
her recipes.

If you have a child, or know of anyone with a child, with
Eosinophilic Disorder or food allergies
I encourage you to tell your friend, or click on the 'The Happy Zachy blog'
link above and take a look at her recipes.

She is a new blogger, but she has been 
adding recipes often.

Little Zachy!


Have a good weekend!
Live is good!
Valerie

*All of Zachy's food is not only Allergy friendly, but Gluten Free!


Wednesday, May 21, 2014

Feather Swirl Soap

I recently tried the ''Feather Swirl' soaping technique. 
I didn't actually get a 'Feather', but.....I did get a leaf! 

That's the exciting (and frustrating) part of soaping. 
You just never know what you are going to find when you do 'the cut'! 

Here are some pics on the process.

 I used oils and fragrance oils I that knew would not trace quickly. 

Castor Oil
Coconut Oil
Olive Oil
Lavender EO
Lemongrass FO

I needed a very light trace to make this work.

I set the dividers close together (about and inch apart)
                                          

I used 5 different colors in 5 different containers.
I poured about 1/2 to 3/4 cup of soap in each container, except the
one with titanium dioxide which was in a squeeze bottle: added only about 1/4 cup.
Very slowly I poured a line of colored soap down 
the middle of the partitioned off section of the mold, and
repeated this process until I had very little soap batter left.


I filled up the outside sectioned with the rest of the white batter
(it never really was a true white).


When I was through layering the colors I slide the partitions out.


Taking the instrument I use for doing a hanger swirl I
did just that: the hanger swirl.
I put the hanger right down the middle of the colored layers of
soap until it touched the bottom.
Slowly I dragged the hanger along the bottom of the
mold and then brought it up against the far side
of the mold and out.


I poured on the rest of the uncolored soap batter for the final layer,
and dribbled what was left of the colored soap
on top and made a swirl design.


Twenty four hours later I took it out of the mold.
Because this was a Bastile Soap (over 50% Olive Oil)
it was still a bit soft. But.......I had
to at least cut the ends off! I am very impatient
when it comes to seeing what it inside a new soap!


I was able to cut the rest of the soap within
a few hours. Here are the rest of the cuts.


If you need a more visual process here is
Claudia Pazfernik's video on:
silent soaping - Secret Feather Swirl
on YouTube.


Happy Thursday!

Thanks for stopping by
and
come back soon!

Life is good!
Valerie